
I’ve been using the live streaming service “StreamYard” and found it to be really good, so I’ll explain how to register and use it.
How to register for StreamYard
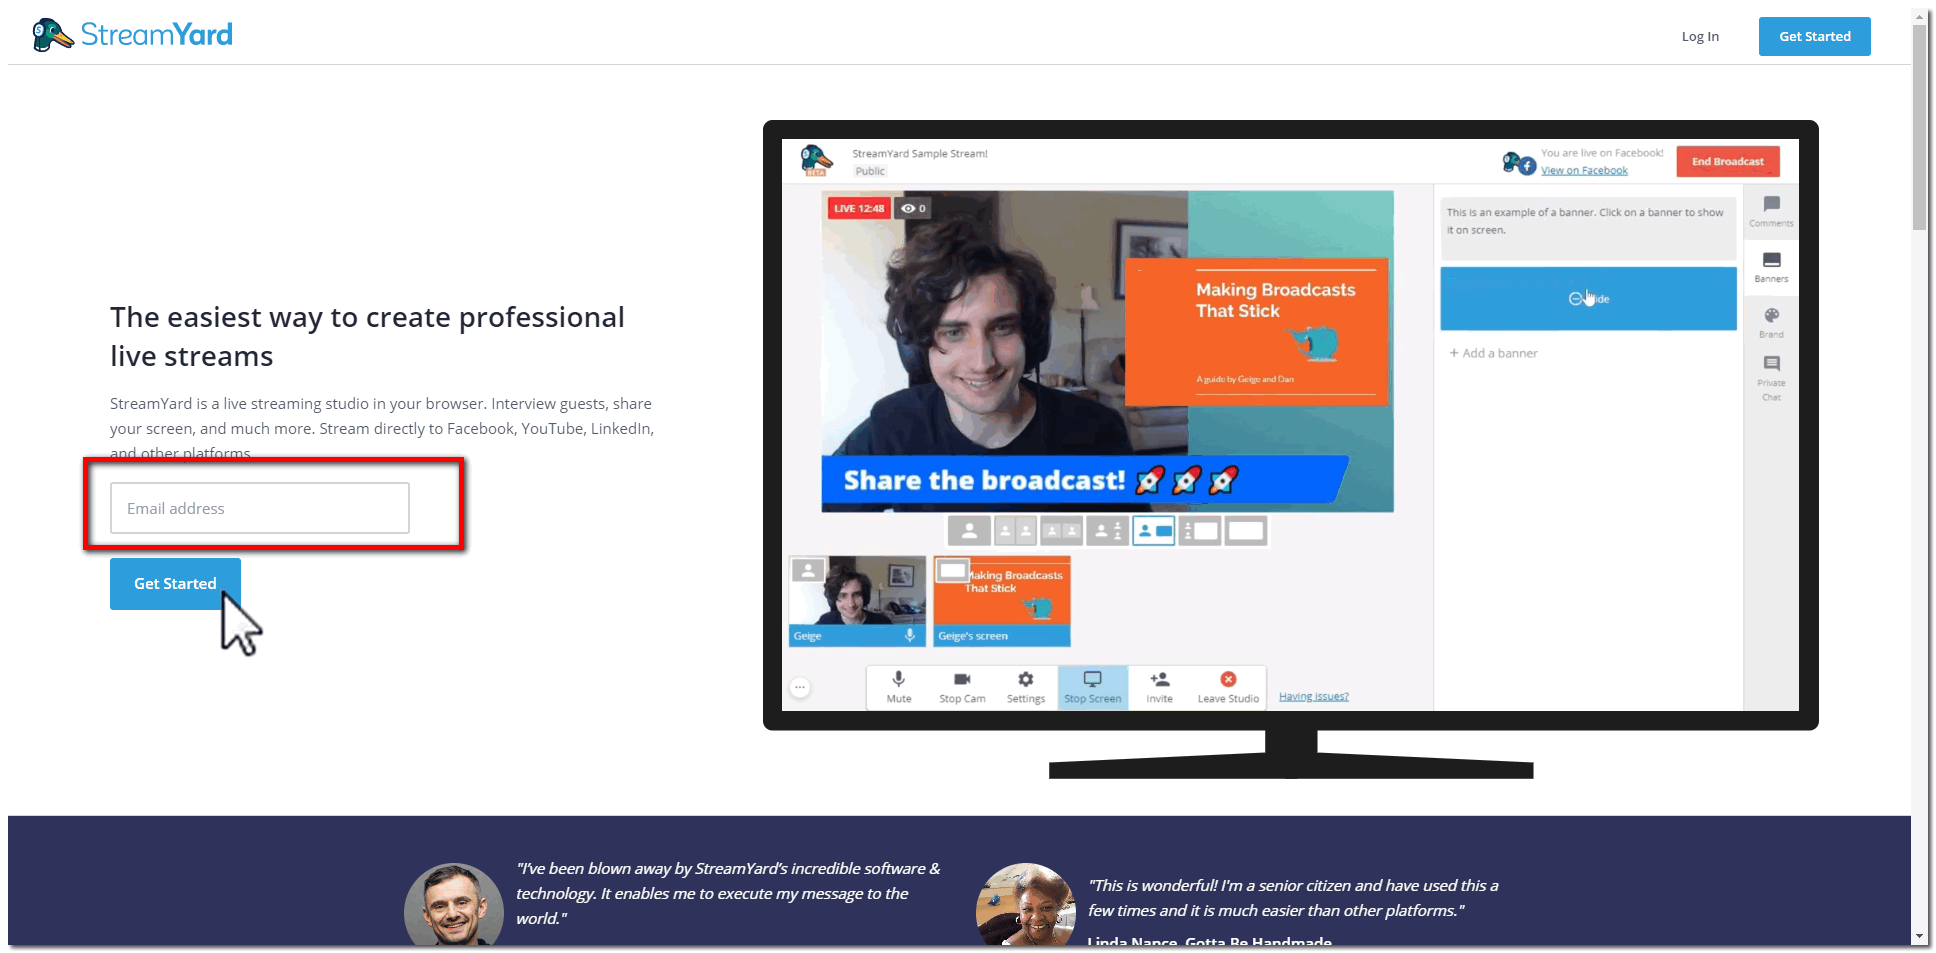
The registration process for StreamYard is very simple. Just enter your email address to register.
→Click here to visit the official StreamYard website
1.Go to StreamYard’s official website and enter your email address
→Click here to visit the official StreamYard website
Enter your email address in the red box above and click “GET STARTRD”.
2.Enter the code that comes in the mailbox of the email address you entered
You will receive an authentication code in the mailbox of the email address you entered, and enter that number on the screen. Then you are logged in!
StreamYard does not have a password. When you log out and then log back in, you enter the email address you registered with and enter the verification code that changes each time.
There is no hassle of remembering your password, and no third party can log in unless they look in your mailbox. Great.
How to use StreamYard
It’s really easy to link and use.
1.Linking StreamYard with various services
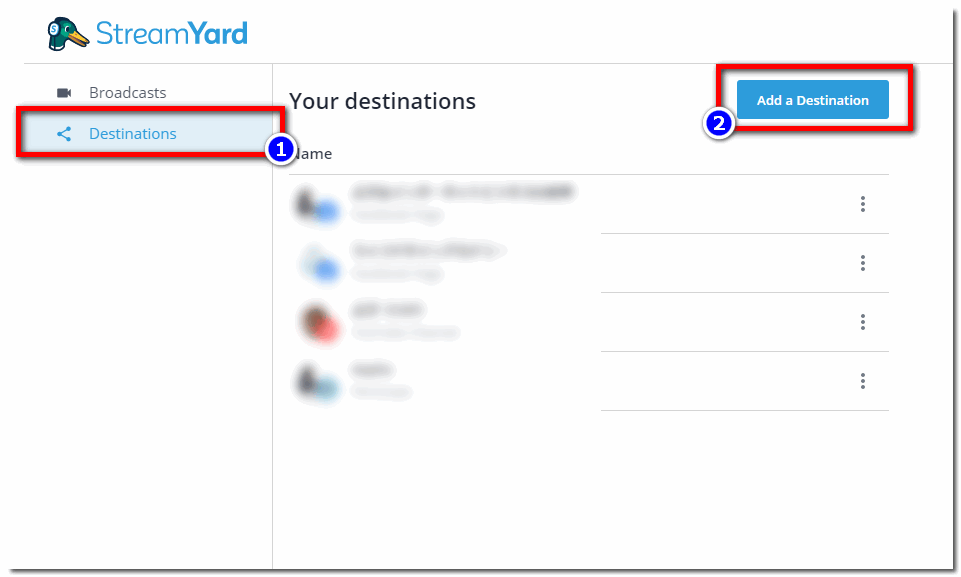
First, let’s proceed with the linkage with the destination.
Click the button in the upper right corner of the administration screen to proceed to the linkage with the recipient.
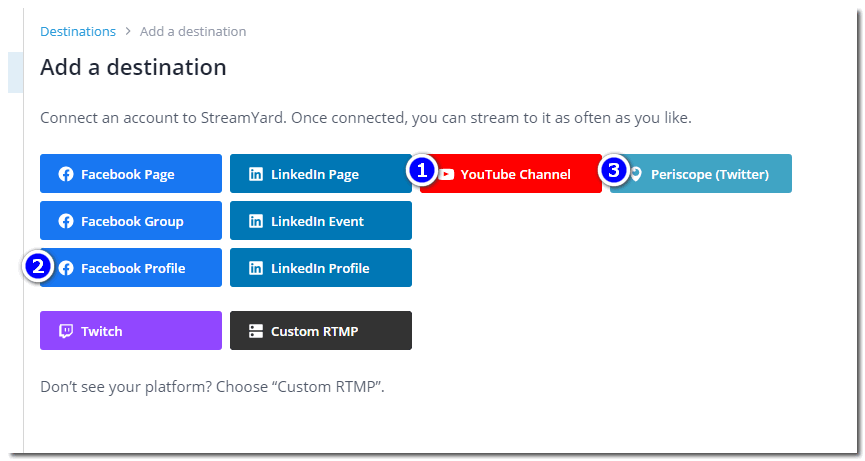
All major live streaming destinations are covered, including Facebook, YouTube, and Twitter. I think you will mainly use 1.2.3. above.
It’s very easy to use, just login to Facebook, YouTube, and Twitter. You don’t need to do it every time.
2.Let’s test the delivery with StreamYard (it won’t be delivered out of nowhere)
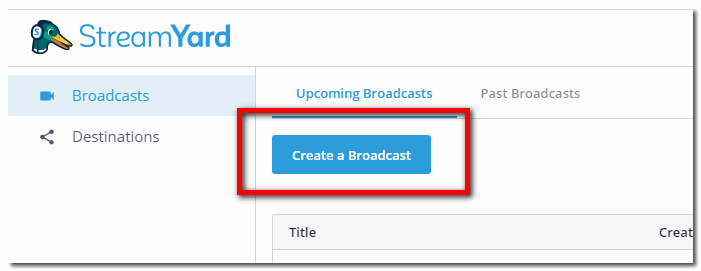
Once the linkage is complete, it’s time to deliver. Don’t worry, it won’t be broadcast out of nowhere. Press the “Create a Broadcast” button above.
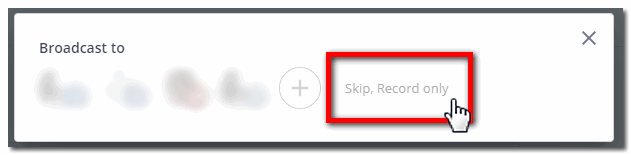
If you press the “Skip, Record only” button, your message will not be delivered and you can test delivery. If you want to actually deliver the message, just click the icon on the left side.
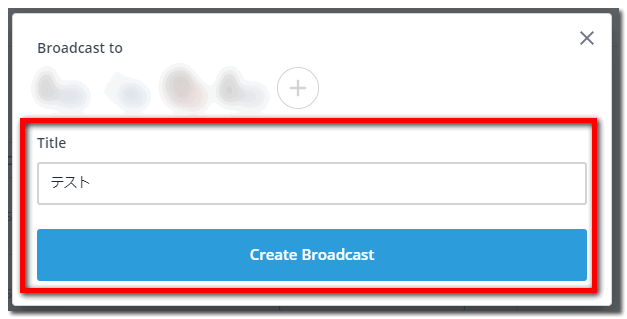
Enter a title and click “Create Broadcast”!
3.The StreamYard distribution screen looks like this
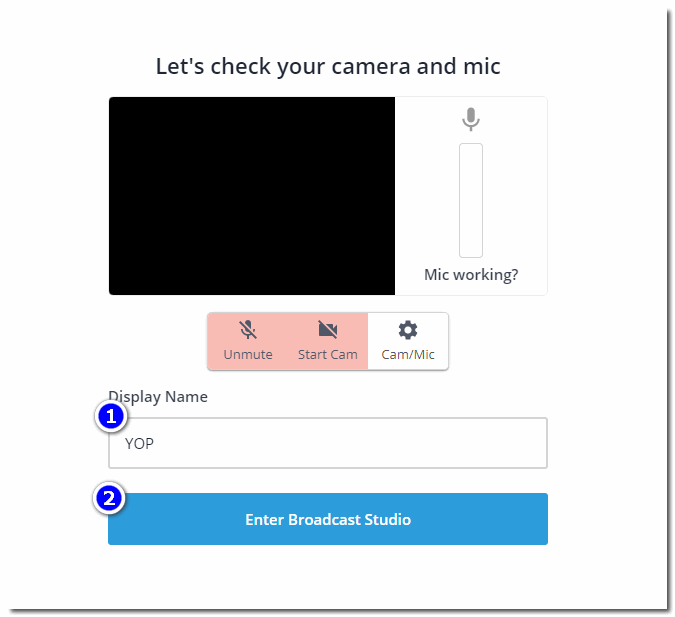
This will take you to the microphone and camera settings screen.
Enter your display name (1) and press the blue button (2).
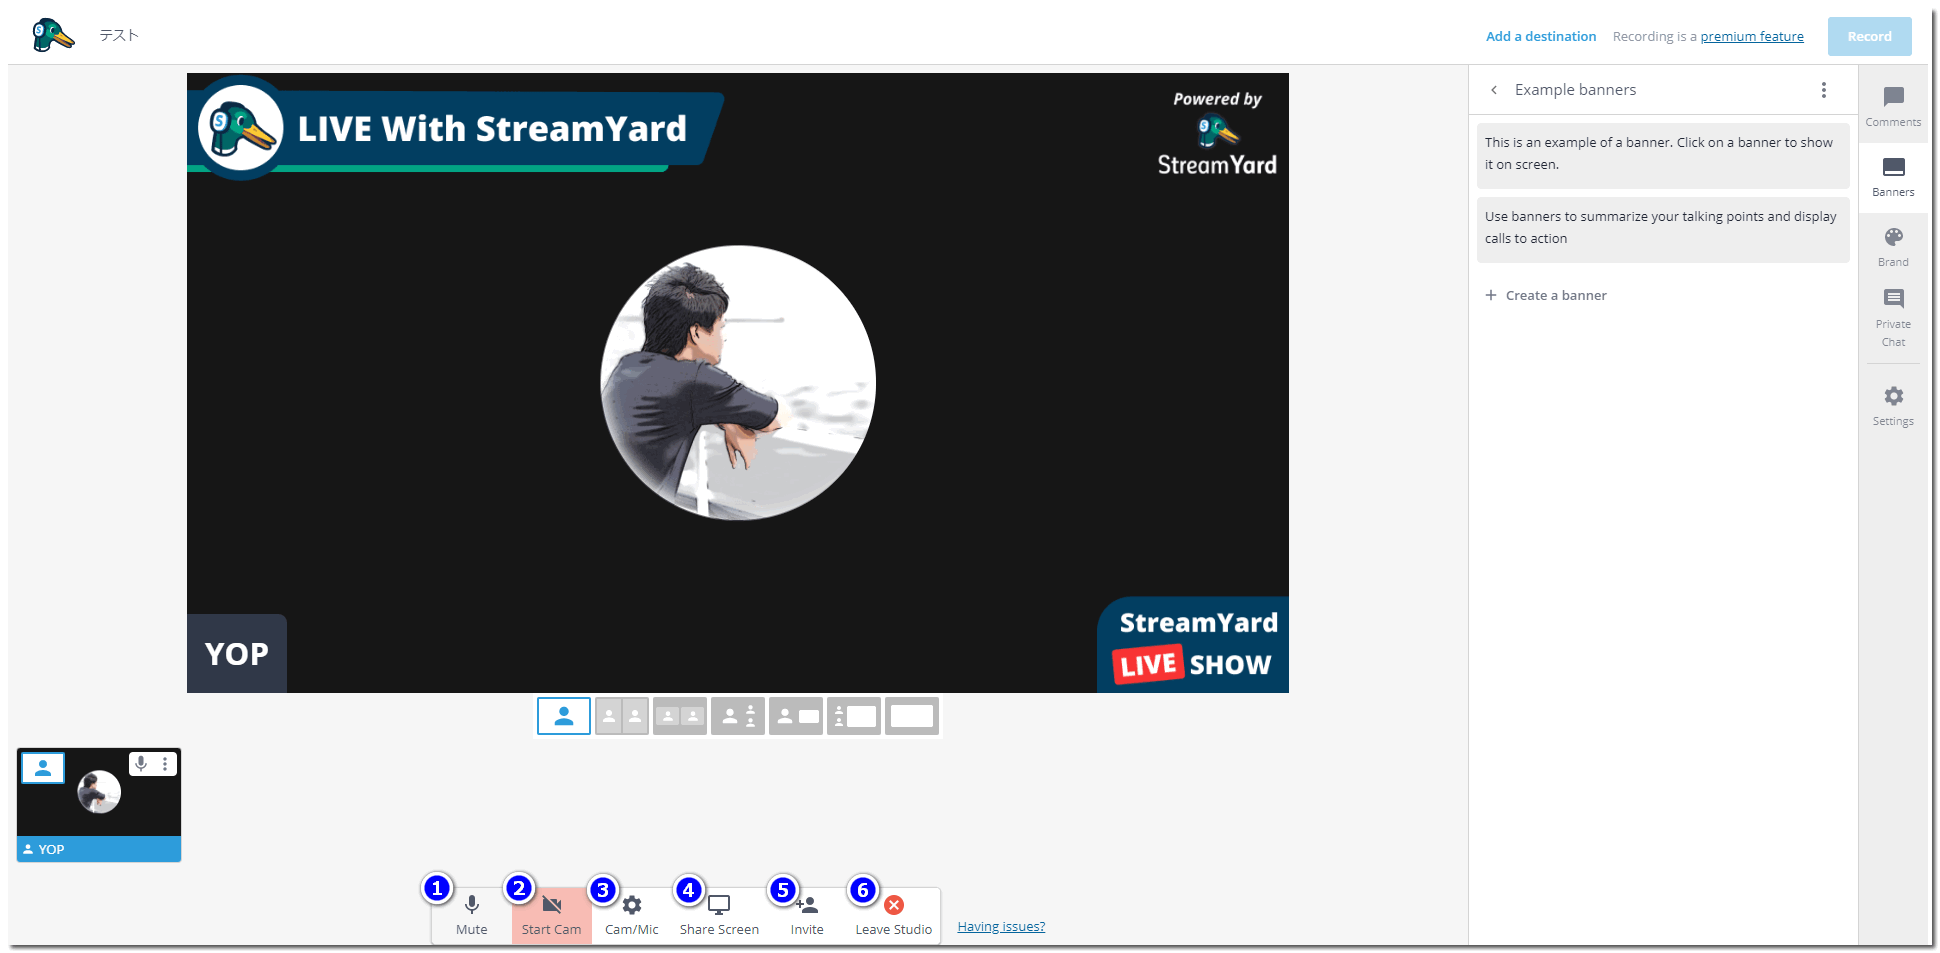
This is what the admin screen looks like. It’s very cool. If you subscribe to a paid plan, you can remove or change the logo. It’s good enough as it is.
- You can mute the microphone.
- Switch the camera on and off.
- Camera and microphone settings
- A button to share the screen.
- Invite others button (invitation URL can be issued)
- Exit (end of LIVE)
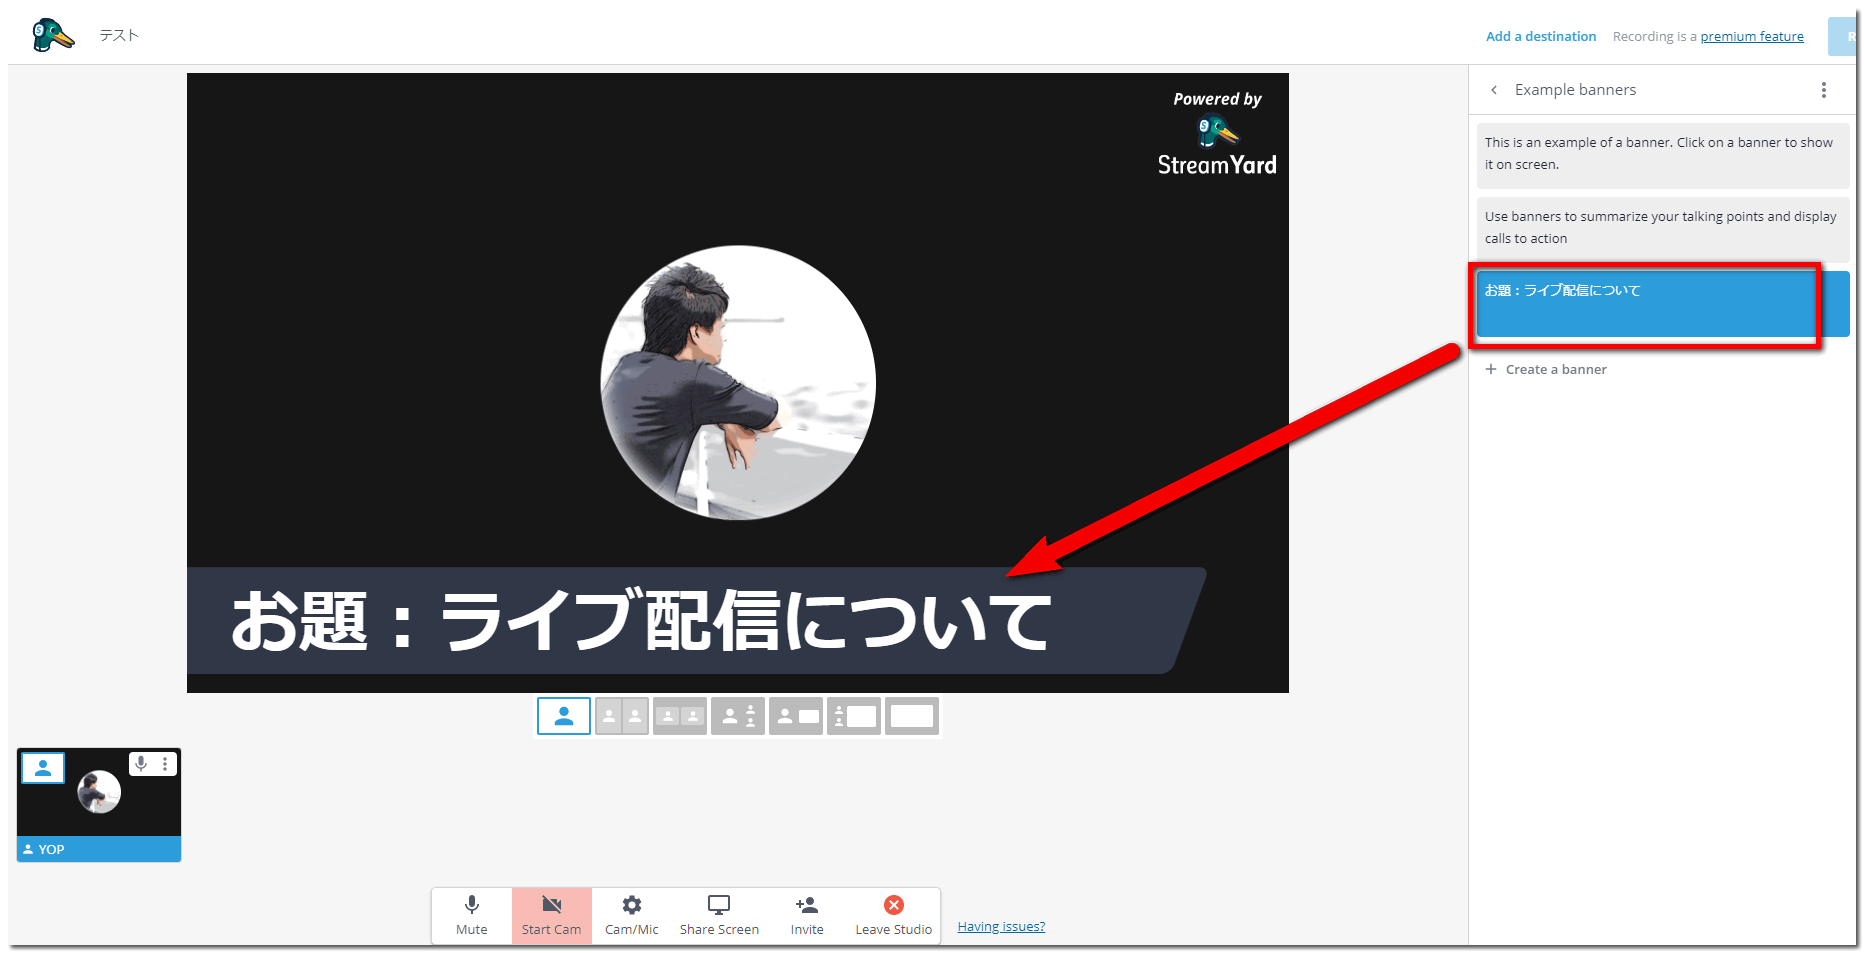
It is also easy to add a band to the LIVE screen. You can prepare themes, subjects, etc. in advance and insert them with one click. Lovely.
It’s also nice to be able to display comments from YouTube Live and Facebook Live in the screen with just one click.
StreamYard Summary
StreamYard has a free plan and a paid plan. With the free plan, you are limited to 20 hours of live time per month.
Even if you spend an hour a day, you can go live for 20 days, so I think 20 hours a month is enough for the free plan. If you want to broadcast more than that, you may want to consider a paid plan.
Also, with the free plan, you can’t delete the logo. This is nothing to be concerned about.
The good thing about StreamYard is that you can use the high performance features even for free. It has a lot of useful features for those who want to broadcast live while displaying comments on the screen.
You can start by testing the camera first, since it won’t be delivered out of the blue.